
How the new Tune Management Pack Feature works - Operations Manager (SCOM / OpsMgr) 2016 Step by Step overview to reduce noisy alerts
How the new Tune Management Pack Feature works - Operations Manager (SCOM / OpsMgr) 2016 Step by Step overview to reduce noisy alerts

Step by Step
Open the Operations Manager Console on you Management Server or device where you have it installed.After opening the console then navigate to the Administration workspace then Management Packs, Tune Management Packs.

To start tuning alerts click on the Identify MP to tune task and select your time frame and minimum alerts you will like to display/tweak.


After you have identify the alerts you will be able to see some work items on the Tune MPs view so you can override them.

Select a management pack you will like to perform tuning and click on Tune Alerts under the task pane.

After selecting the Tune Alert action you will be able to override or disable monitoring on the selected monitors/rules.


Click here for more details on the SCOM Severity and Priority Numbers

After overriding your rule then you will be able to proceed and save to your preferred management packs. I always recommend you to use a custom one for each service you are overriding for example:
Override-MP-Service.mp
Override-MP-Server2016
Override-MP-Exchange2016
After tuning your monitors/rules then that's it you have now tuned up the noisy alerts on your environment.
SCOM 2016 (07 12) Alerts Override Priority and Severity Numbers for Monitor/Rules.
Operations Manager SCOM 2016 (07 12) Alerts Override Priority and Severity Numbers for Monitor/Rules.
Just posting as extra one so you have when needed. This is the format I use so I don't forget when I'm overriding or creating subscriptions.

Feel free to print this table


How the new Management Pack Updates and Recommendations Works - Operations Manager (SCOM / OpsMgr) 2016 step by step overview.
How the new Management Pack Updates and Recommendations Works - Operations Manager (SCOM / OpsMgr) 2016 step by step overview.

If you are a SCOM admin from 2K7/12 and R2 you will really appreciate this new feature.
Step by Step
- Open the Operations Manager Console on you Management Server or device where you have it installed.
- After opening the console then navigate to the Administration workspace then Management Packs, Updates and Recommendations.

- On the Updates and Recommendations page you will be able to review and install any required update or recommended MP's.

Important: give a little bit of time while importing the management packs at least 10 to 30 seconds per Microsoft recommendation.
- To install any of the management packs you can just select the one you need or just get them all at once. (in my case I will use Get All MPs)

- After selecting Get All MP's then you will be able to see the install wizard where you can review and then install the Management Packs.

- Once you click on install you will get a security warning as it going to update already installed management packs click yes to continue the update/install process.

- After importing the MP's close the wizard/dialog box then go to your installed management Packs to review if they were imported as expected.
-


- That's it ! Please comment below if you have any questions or suggestions.
How to Deploy the Operations Manager (SCOM / OpsMgr) 2016 Agent step by step
How to Deploy the Operations Manager (SCOM / OpsMgr) 2016 Agent step by step

Step by Step
- Open the Operations Manager Console on you Management Server or device where you have it installed.
- After opening the console then navigate to the Administration workspace.

- On the Administration workspace page, click on Discovery Wizard to start the deployment process.

- On the Auto or Advanced page, select the discovery you will like to perform. Also you will be able assign the Device Class and Management Server at this point. (In my case will be advanced discovery)

- On the Discovery method page, type in or browse the server need or run an AD scan then Next.

Scan Active Directory Option will the allow you to do a global search.

- On the Administrator Account page, you can just keep the default MS account or just assign the one with admin privileges on the devices you will like to manage then click on Discover.

- After the discovering is completed you will then be able to select the ones you are trying to manage/monitor. After selecting the ones needed click Next to procced to the Summary Page.

On the Summary/Installation page, assign the agent action account if needed then click Finish to complete the install process.

That's it the agent is now in the way and about to install on your targeted devices. If you would like to monitor the progress of the installation you can keep this window open or just go to Pending Management under the Administration workspace page.


How to solve Reporting Services 2016 SSRS - Report Builder Failed to Connector issue
How to solve Reporting Services 2016 SSRS - Report Builder Failed to Connect issue

After installing your SSRS and try to use Report builder you might get the following issue.
Issue
Trying to edit reports with Report Builder 2016 fails to connect to the report serer report parts.Error: Connection failed. Unable to connect to the server that is specified in the URL.

Troubleshooting
Click OK and then select Blank Template then click on File and Options.
On the Options page, try copying the default URL and paste to you IE and make sure you have access.

Resolution
To solve this issue I went to my Report Builder App, File, Options and change the URL to http://localhost/reports without the server FDQN.
Editing reports now! :)

Note: This doesn't covers remote scenario this is only for a locally installed Reporting Service Server with Report Builder 2016.
How to install .Net Framework 3.5 on Windows Server 2016 ( 2012 and R2) Offline via PowerShell
How to install .Net Framework 3.5 on Windows Server 2016 ( 2012 and R2) Offline via PowerShell

There’s lost of applciations that still need .Net 3.5 which makes no sense why MS has not enabled this one as they use to do in 2008 and previous. The defaul .Net you have now is 4.5 or 4.6 and most of apps such as SQL Management Studio they require .Net 3.5.
How to enable .Net Framework 3.5 step by step
1. Get a copy of your Windows Server 2016 ISO on to the Server you are trying to get .Net installed and get it mounted (right click mount). If you don't want to copy then browse to path you might have the ISO in my case \\ServerName\ISOs\WindowsServer2016.iso then mount.2. After you have mounted the Windows Server 2016 ISO then open PowerShell as administrator and run the following command;

Dism.exe /online /enable-feature /featurename:NetFX3 /All /Source:D:\sources\sxs /LimitAccess

Important: the Source: D: is the disk where the ISO have been mounted to in my case was H but it could be E, F,etc.
3. That’s it, restart is not required. Make sure you Eject the ISO after the feature is installed.
Hope this helps.
How to integrate BitLocker (MBAM) with Configuration Manager 2016 / 2012 R2 (SCCM / ConfigMgr)
BItLocker
,
MBAM
,
SCCM
,
SCCM 2016
No comments
How to integrate BitLocker (MBAM) with Configuration Manager 2016 / 2012 R2 (SCCM / ConfigMgr)

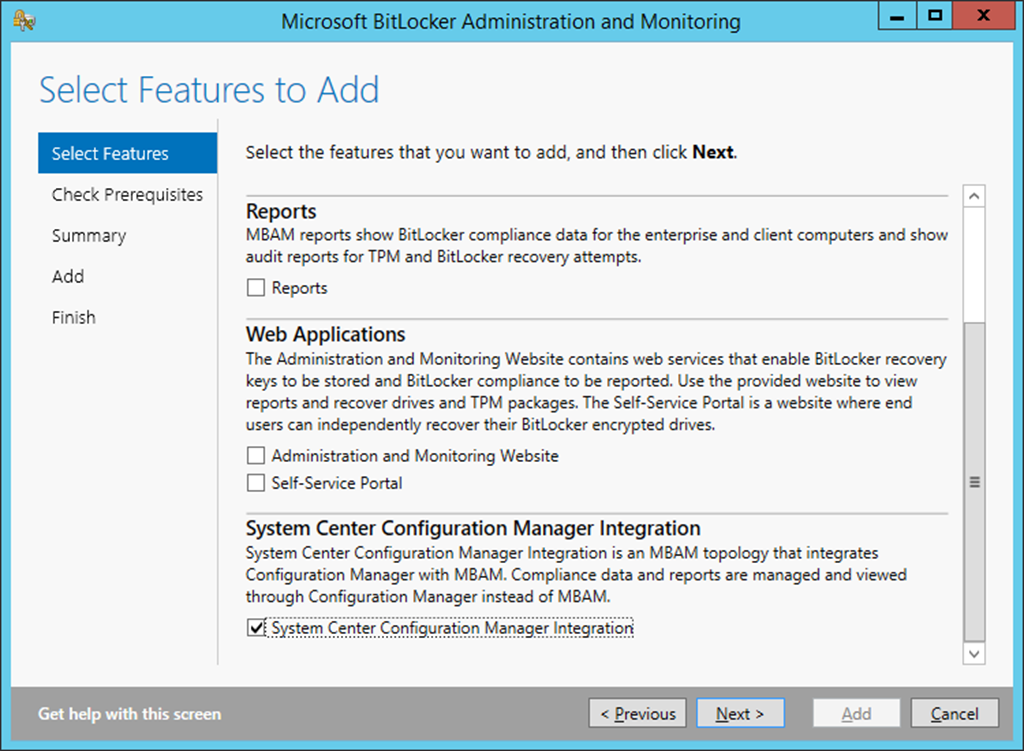
On the Features Selection page, select System Center Configuration Manager integration then Next.

Specify your SQL Reporting Services Server then Next.

Review Summary, then Add to integrate.

After the installation is completed go to your SCCM Admin Console, Assets and Compliance then Configuration Items and see if the BitLocker Protection Baseline is created.

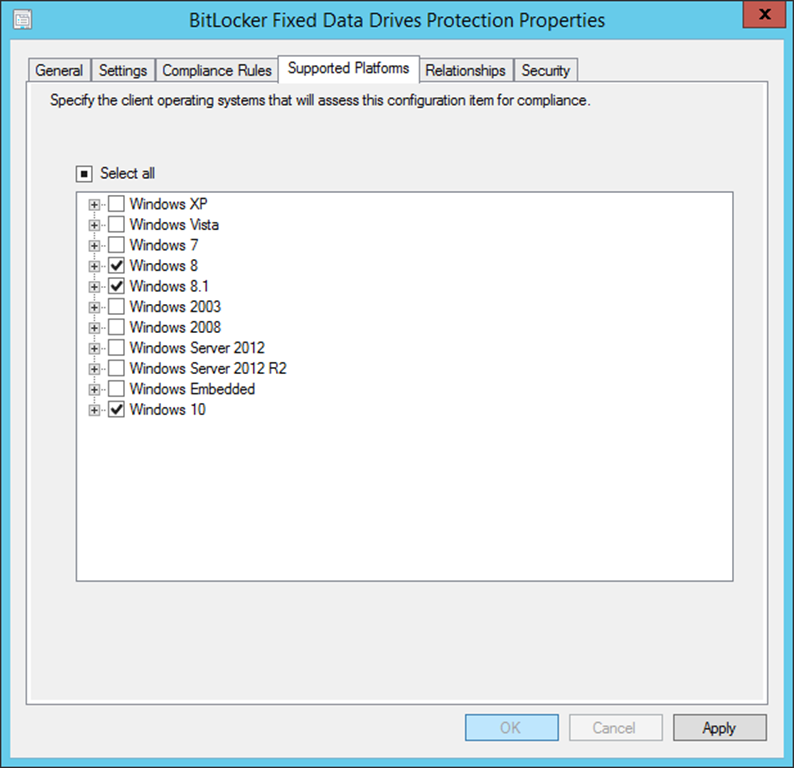
On the Baseline review the Supported platforms and modify if needed then confirm if the reports have been installed.

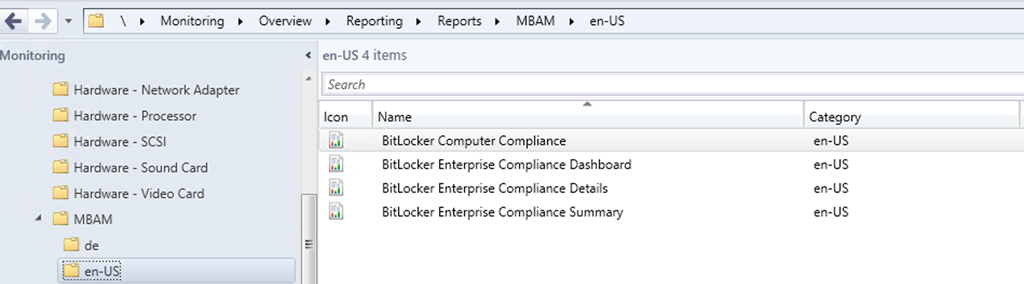
Open the Monitoring workspace and then navigate to Reports/MBAM/EN-US to see the imported reports.
After reviewing the reports got the Device Collections/ MBAM Supported Computers then if required disable the following criteria so VMs are not monitored.

Open the MBAM Supported Computers collection properties then membership rules to exclude the VM platforms.

On the Computer System - Model add the Values you would like to exclude.

That's it now your MBAM is integrated with Configuration Manger so you are able to deploy the agent via the task sequence, app, program or GPO.

MBAM and SCCM integration Step by Step
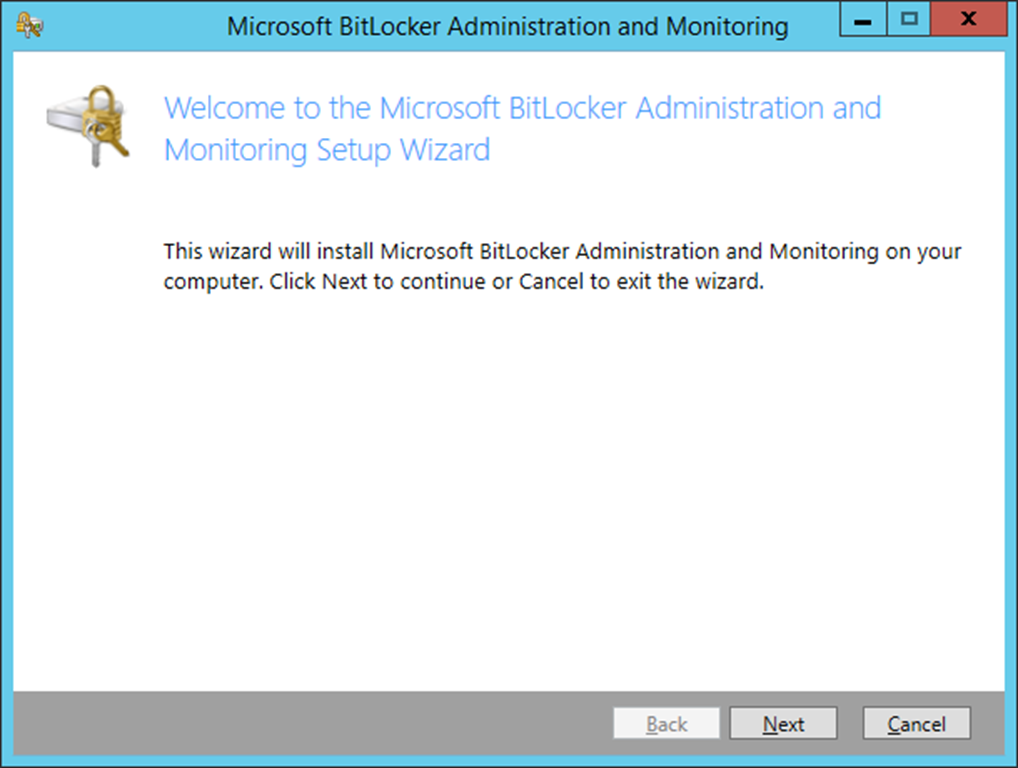
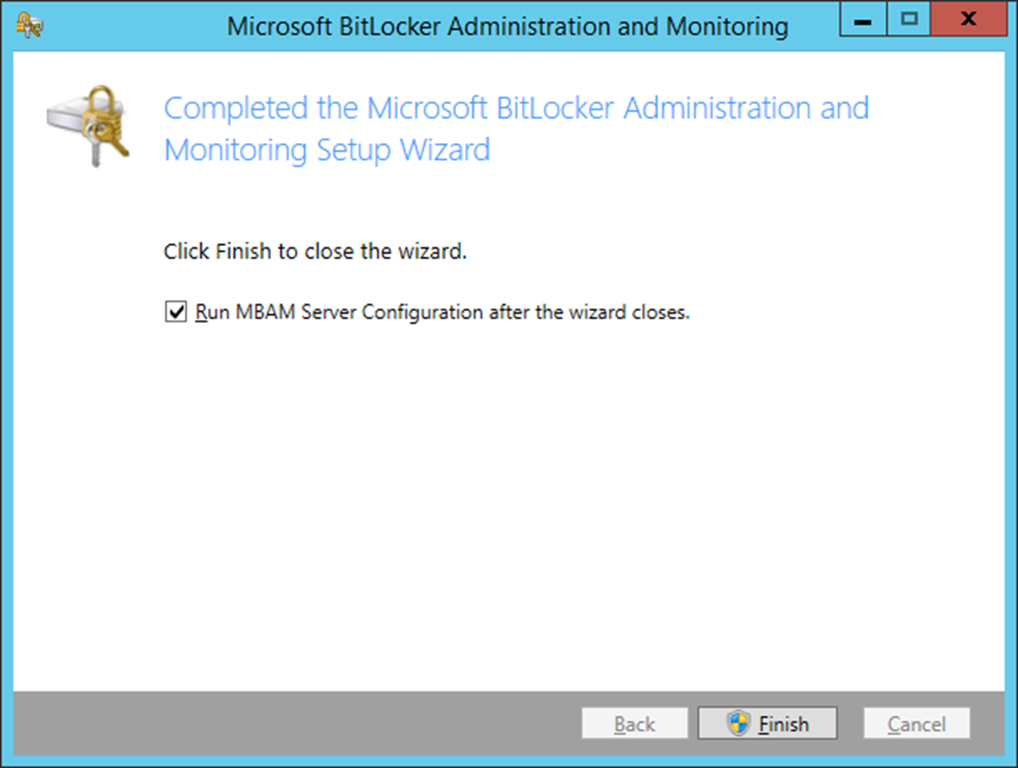
On the Primary Site open the BitLocker MBAM setup and select the MBAM Server Configuration to add the new SCCM integration.


On the Features Selection page, select System Center Configuration Manager integration then Next.


Specify your SQL Reporting Services Server then Next.

Review Summary, then Add to integrate.

After the installation is completed go to your SCCM Admin Console, Assets and Compliance then Configuration Items and see if the BitLocker Protection Baseline is created.

On the Baseline review the Supported platforms and modify if needed then confirm if the reports have been installed.


Open the Monitoring workspace and then navigate to Reports/MBAM/EN-US to see the imported reports.

After reviewing the reports got the Device Collections/ MBAM Supported Computers then if required disable the following criteria so VMs are not monitored.

Open the MBAM Supported Computers collection properties then membership rules to exclude the VM platforms.

On the Computer System - Model add the Values you would like to exclude.

That's it now your MBAM is integrated with Configuration Manger so you are able to deploy the agent via the task sequence, app, program or GPO.
Subscribe to:
Posts
(
Atom
)


